This roguelike tutorial series assumes some basic familiarity with the Godot editor and workflow. If you’ve never worked with Godot before, refer to the beginner resources in the introductory post: https://alexshopov.com/2026/03/24/the-godot-roguelike-basic-set-introduction/.
Our goal is to create a new project, add custom assets including sprite sheets and a font file, create the root of our game scene, and define the high level project settings for our game. The complete code and assets for this step can be found at https://github.com/alexshopov/godot-roguelike-basic-set/tree/part-0
Launch Godot and create a new project. You can follow my lead and call it “The Godot Roguelike Basic Set”, or come up with a name unique to your game.
Assets
GRBS is a pixel art game, so we’ll need some sprites and a place to store them. Start by adding a folder called assets to your project.
The project repo includes a set of sprite sheets containing 16×16 pixel dungeon tiles, characters, and items adapted from the Kenney Game Assets Tiny Dungeon pack (licensed under CC0). Alongside the Kenney assets, I’ve included a few custom items and spell effects I created myself in Aseprite (as seen in the larger-scale preview below).

Create a spritesheets folder in the assets folder. If you already cloned the project repo, the sprite sheets can be found in the assets/spritesheets directory.
If you’re building the project from scratch, use the following links to download the sprite sheets from the repo and add them to the assets/spritesheets directory.
I also like to drag the default Godot icon.svg into the assets folder to keep it alongside the other image assets.
In addition to the sprite sheets, we’re going to include a font file from Kenney’s font pack . I used the Kenney Pixel font, but you are welcome to use whichever font file you like.
Create a fonts folder in the assets folder. Download the font pack and copy your chosen font file into the assets/fonts directory.
The Game Scene
Create a new scene with a base Node as its root. Rename the node to Game.
Attach a new script to the Game node and add the following code:
class_name Gameextends Nodefunc _ready() -> void: print("Welcome to the dungeon.")
In Godot, the class_name keyword registers Game as a globally accessible class, so we can easily reference it anywhere in the project. We’ll follow this pattern across the project with every class we create. Registering our classes will also simplify the use of static typing annotations, allowing for improved editor autocompletion, as well as cleaner, more performant, less error-prone code.
Project Settings
We’ll finish this setup by specifying several top level settings in our project. From the main menu, open Project -> Project Settings...
Activate Advanced Settings in the top-right of the Project Settings window.
Navigate to Application -> Run and set the Main Scene to game.tscn
As we’re creating a pixel art game, we’ll next specify an appropriate viewport size. Navigate to Display -> Window and set the viewport size to 640 x 360, a standard 16:9 aspect ratio that will render a 40 x 22.5 tile visible grid. I chose 16:9 as it’s the standard widescreen format used by most computer monitors that display at 1080p or 720p. We’re losing half a tile at the bottom of our screen, but as we’ll see in part 4 when we do Field of View, that won’t be an issue.
We also want the game to display nicely at any screen size, so scroll down to Display -> Window -> Stretch -> Mode and set it to canvas_items. Godot will render the game at the 640 x 360, then upscale it to fit the window.
Navigate to Rendering -> Textures and set Default Texture Filter to Nearest. This will prevent our sprites from looking blurry when they are upscaled.
Finally, navigate to GUI -> Theme and set Custom Font to the font file in the assets/fonts directory. Godot will ask you to save and restart to make this custom font setting active across the project.
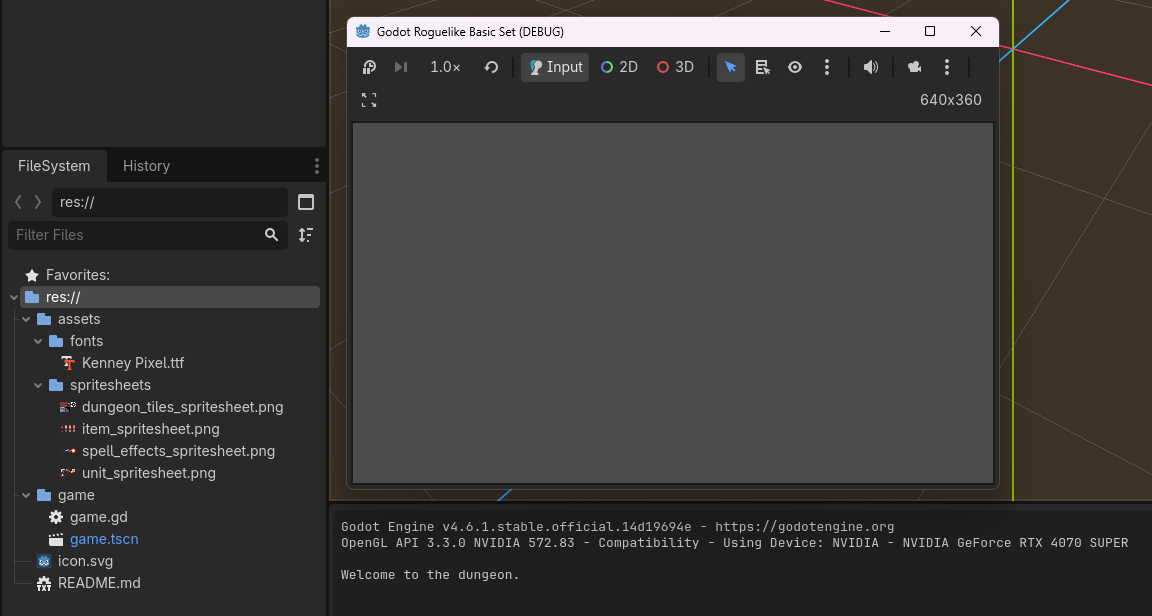
After Godot has restarted, run your scene. You should see your game window appear and the welcome message render in the Godot console.
We’re off to a good start! In Part 1, we’ll create our player and start moving them around the screen.

Leave a comment